Today, I will show you how easily we can create a root checker app in android. It only takes 10 minutes to create this kind of application.
activity_main.xml
<?xml version="1.0" encoding="utf-8"?><androidx.constraintlayout.widget.ConstraintLayout xmlns:android="http://schemas.android.com/apk/res/android" xmlns:app="http://schemas.android.com/apk/res-auto" xmlns:tools="http://schemas.android.com/tools" android:layout_width="match_parent" android:layout_height="match_parent" tools:context=".MainActivity"> <TextView android:id="@+id/textView2" android:layout_width="wrap_content" android:layout_height="wrap_content" android:layout_marginTop="60dp" android:text="This app checks the rooting status of your phone" android:textAlignment="center" android:textSize="18sp" android:textStyle="bold" app:layout_constraintEnd_toEndOf="parent" app:layout_constraintStart_toStartOf="parent" app:layout_constraintTop_toTopOf="parent" /> <TextView android:id="@+id/status" android:layout_width="wrap_content" android:layout_height="wrap_content" android:textAlignment="center" android:textSize="18sp" android:textStyle="bold" android:padding="10dp" app:layout_constraintBottom_toBottomOf="parent" app:layout_constraintEnd_toEndOf="parent" app:layout_constraintRight_toRightOf="parent" app:layout_constraintStart_toStartOf="parent" app:layout_constraintTop_toTopOf="parent" /> <Button android:id="@+id/check" android:layout_width="wrap_content" android:layout_height="wrap_content" android:layout_marginBottom="96dp" android:background="#009688" android:text="Check" android:textAlignment="center" android:textColor="#FAFFFFFF" android:textSize="14sp" android:textStyle="bold" android:typeface="sans" app:layout_constraintBottom_toTopOf="@+id/status" app:layout_constraintEnd_toEndOf="parent" app:layout_constraintStart_toStartOf="parent" app:layout_constraintTop_toBottomOf="@+id/textView2" app:layout_constraintVertical_bias="1.0" /></androidx.constraintlayout.widget.ConstraintLayout>MainActivity.xml
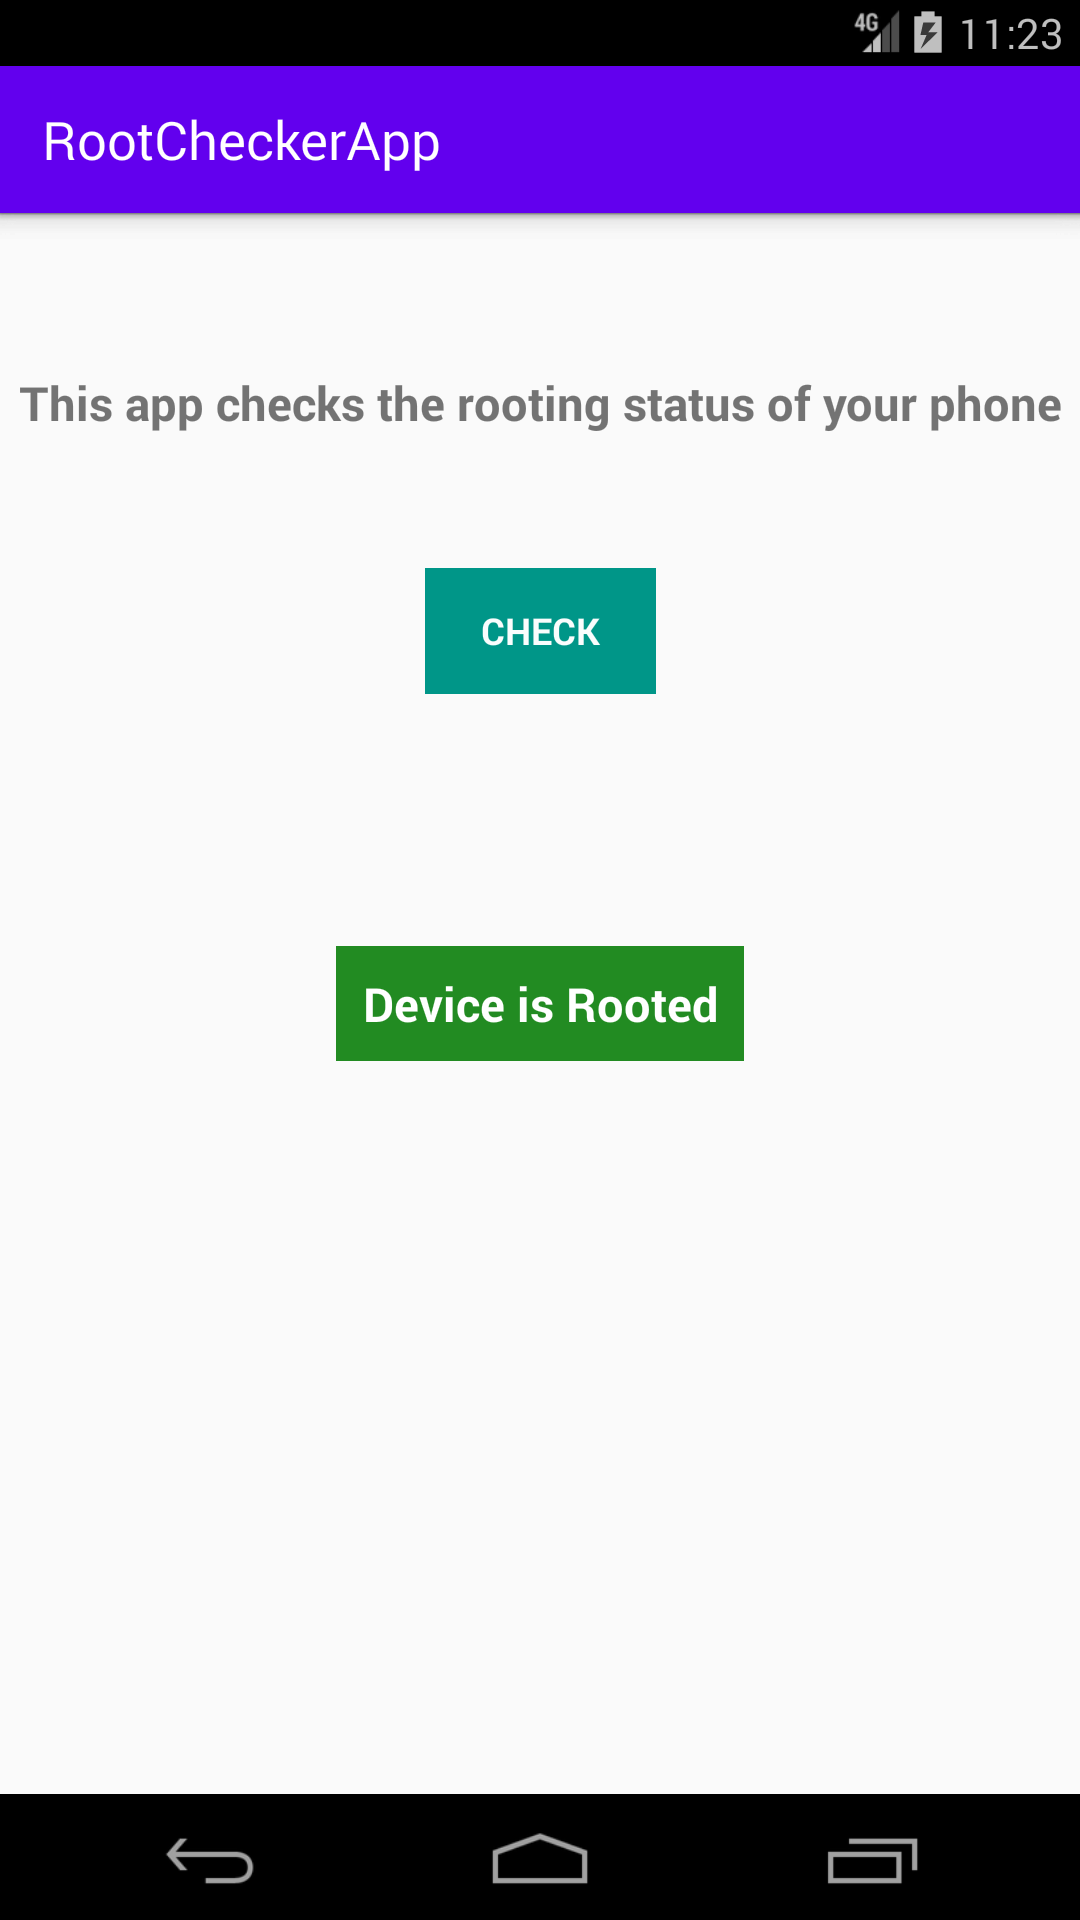
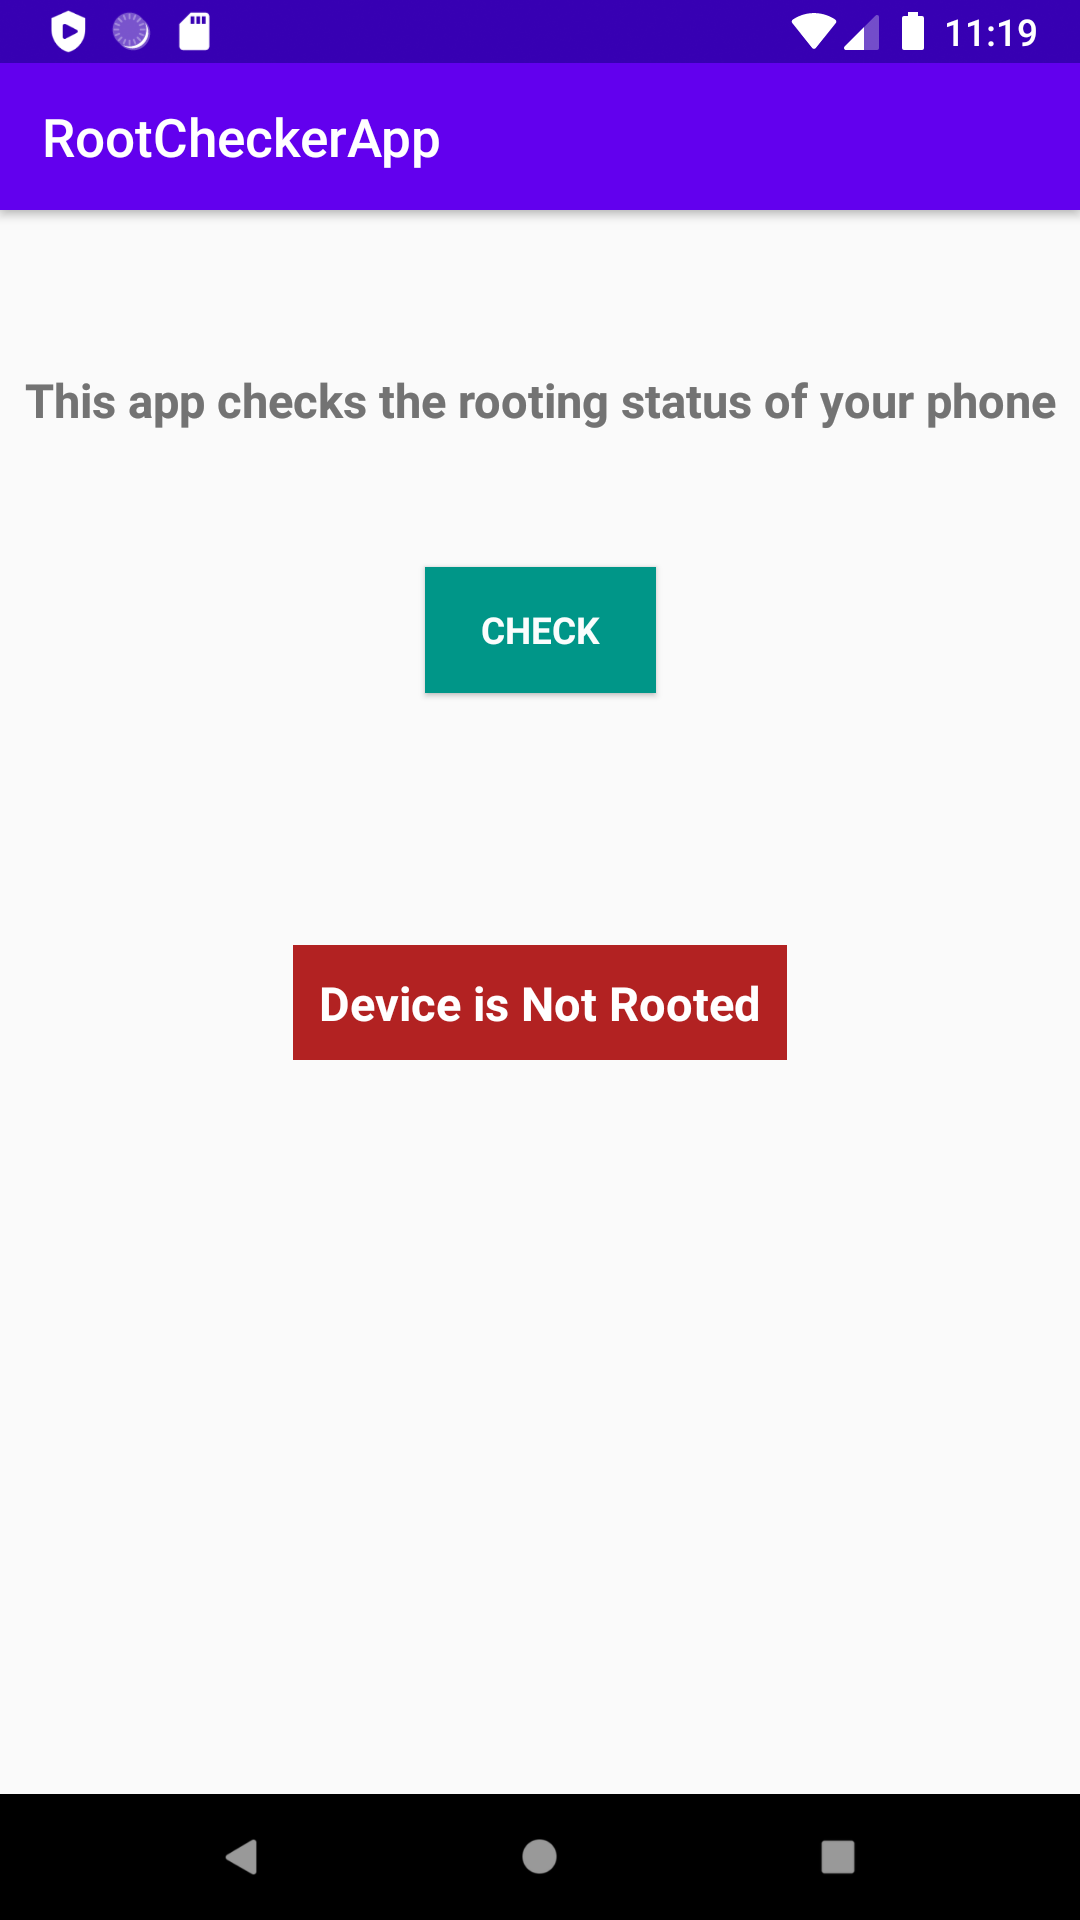
package com.app.rootcheckerapp;import androidx.appcompat.app.AppCompatActivity;import android.graphics.Color;import android.os.Bundle;import android.view.View;import android.widget.Button;import android.widget.TextView;public class MainActivity extends AppCompatActivity implements View.OnClickListener { private Button check; private TextView status; @Override protected void onCreate(Bundle savedInstanceState) { super.onCreate(savedInstanceState); setContentView(R.layout.activity_main); check = findViewById(R.id.check); status = findViewById(R.id.status); check.setOnClickListener(this); } @Override public void onClick(View v) { if (Helper.isRooted()) { status.setBackgroundColor(Color.parseColor("#228B22")); status.setTextColor(Color.parseColor("#FFFFFF")); status.setText("Device is Rooted"); } else { status.setTextColor(Color.parseColor("#FFFFFF")); status.setBackgroundColor(Color.parseColor("#B22222")); status.setText("Device is Not Rooted"); } }}The above code is pretty easy. So in MainActivity we have a Check button. On clicking that button, I am calling a helper class method to check the rooting status of the device. This method returns true/false value. If true that means Device is Rooted otherwise not rooted.
And also I am setting the color of the background based on the returned value. If the device is rooted the text background color will be shown in green color otherwise background color will be red.
Helper.java
package com.app.rootcheckerapp;import android.util.Log;public class Helper {public static boolean isRooted(){ Process process = null; try { process = Runtime.getRuntime().exec("su"); return true; } catch (Exception e) { Log.d("Exception", e.toString()); return false; } finally { // Destroy process if (process != null) { process.destroy(); } }}}So in the above code, I have written the actual logic. So let’s understand it.
Runtime.getRuntime().exec(“su”);
The above line will execute the shell command su
It is similar to when we execute commands in terminal in Linux
The su stands for superuser. So basically when your device is rooted and you execute su command then it tells the android system and requests for the root access.
But in case if your device is not rooted then it throws an exception
java.io.IOException: Cannot run program “su”: error=13, Permission denied
The exec method returns the object of Process class. So if your android device is not rooted then Runtime.getRuntime().exec(“su”); method will return null . But in case if your android device is rooted then it will return the process object. So it is your duty to destroy the object of process.
That’s why in finally block we are destroying the process by calling process.destroy() method.
How to test the application
Well you can test it in android real devices. But if you don’t have two devices (where one is rooted and the other one is not – rooted). Then we can test it in android emulators too.
Many people say that android emulators are not rooted. But in reality android emulators before lollipop or API Level 21 are actually rooted. So from API level 21 onwards they are not rooted.
Source Code
https://github.com/vaibhavsharma316/TechieVaibhavTutorials/tree/master/RootCheckerApp
Thanks for reading 🙂 🙂
Comments
Post a Comment