Hello Guys,
In this tutorial, I will discuss the color map in OpenCV. Color Map is used to show different color temperatures. And this can also be used to generate some cool image filters.
OpenCV comes with thirteen built-in color maps. So in this tutorial, I will show you how to use color maps.
Let’s get started
List of Color Maps
COLORMAP_AUTUMN
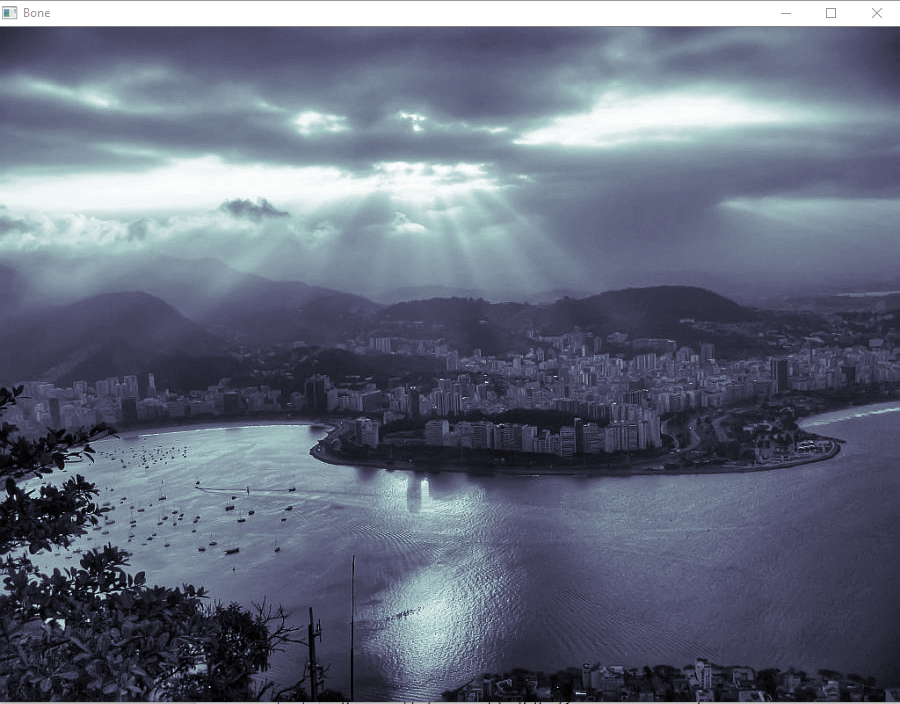
COLORMAP_BONE
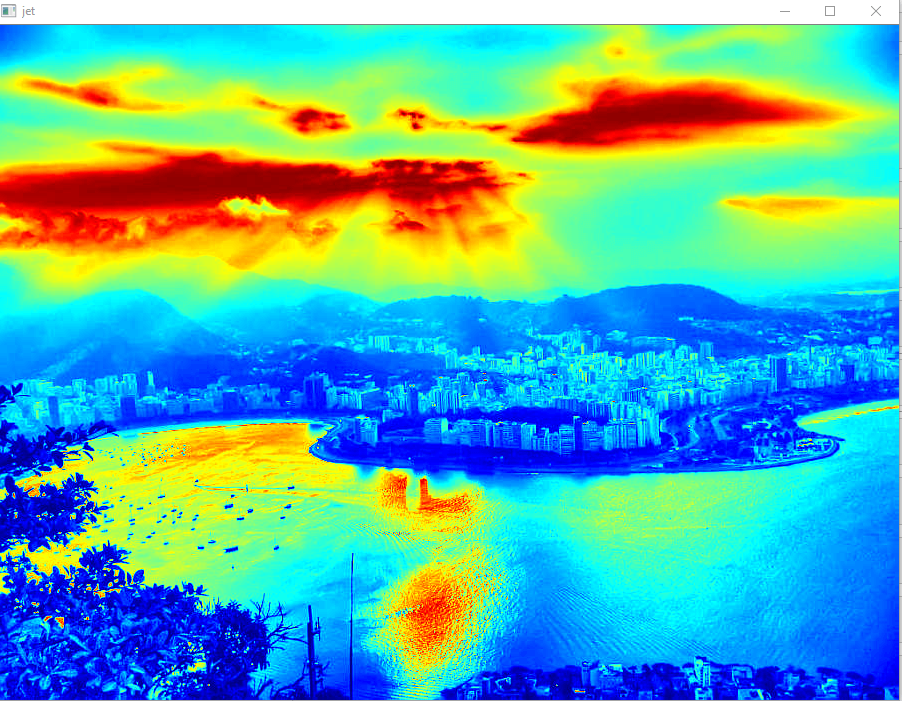
COLORMAP_JET
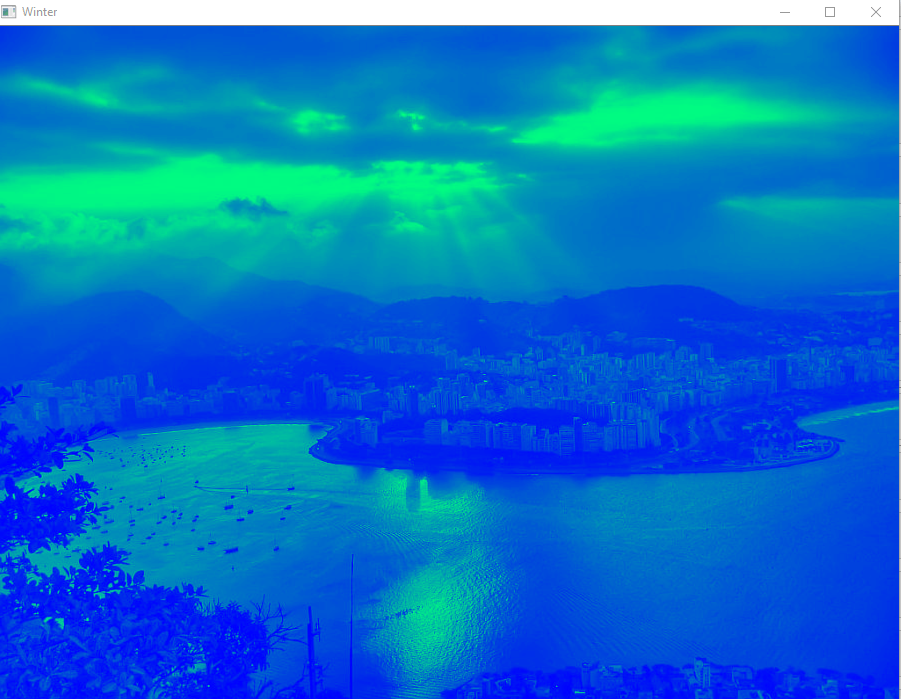
COLORMAP_WINTER
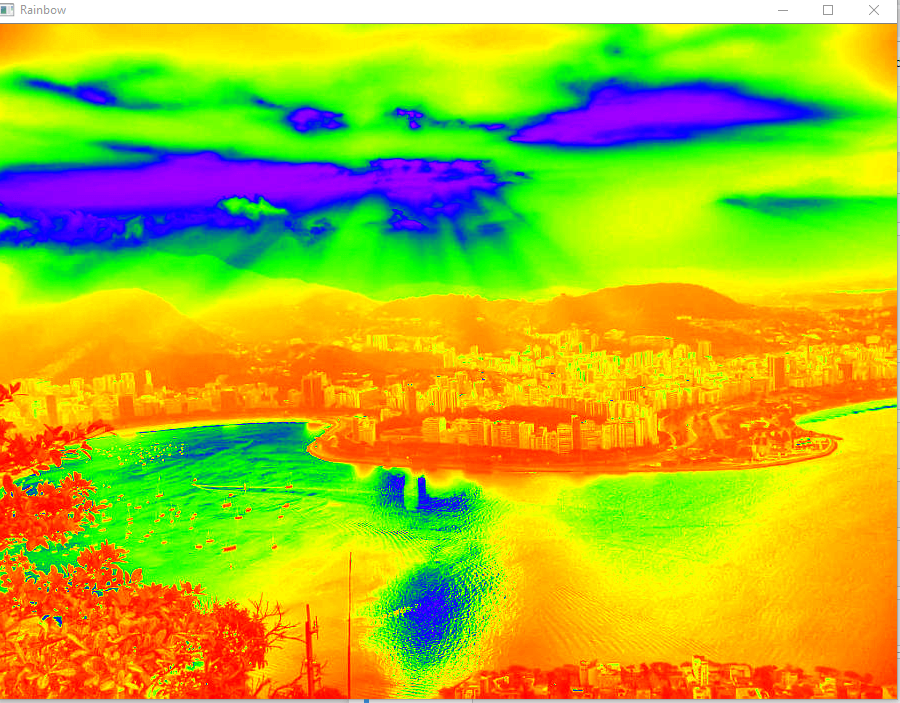
COLORMAP_RAINBOW
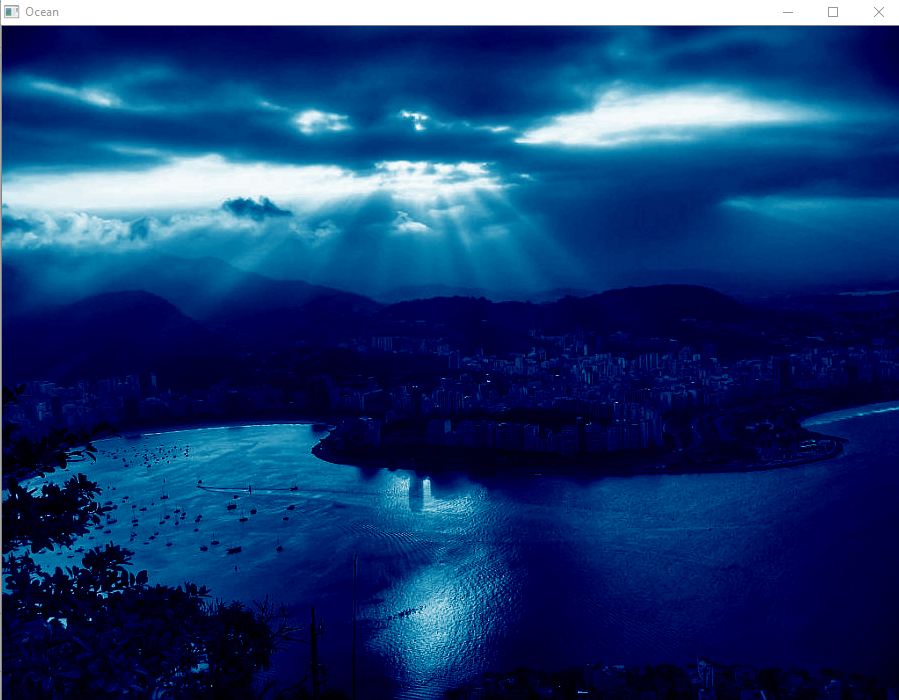
COLORMAP_OCEAN
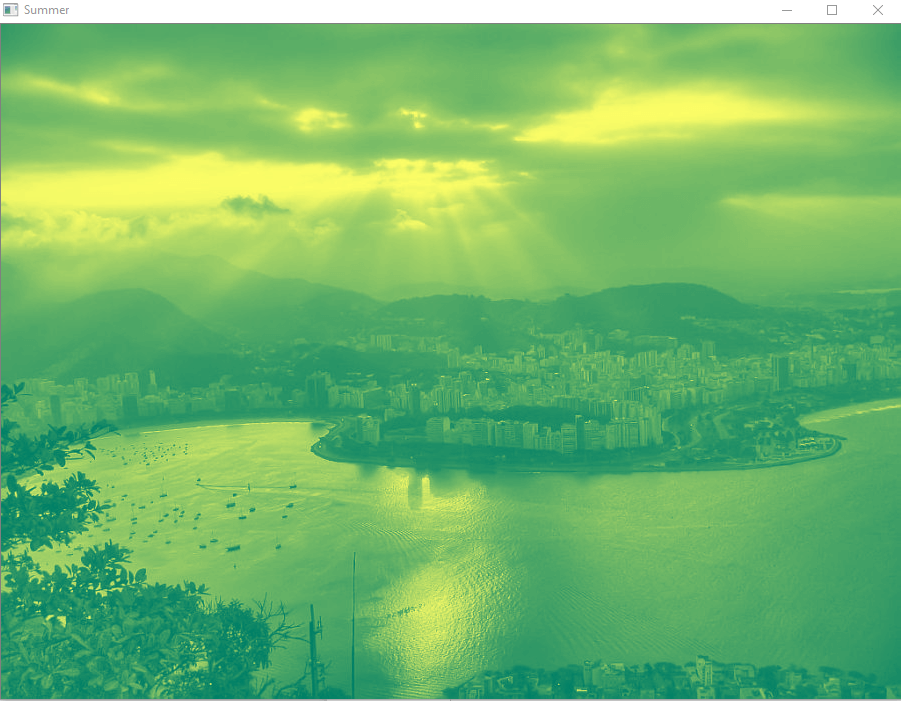
COLORMAP_SUMMER
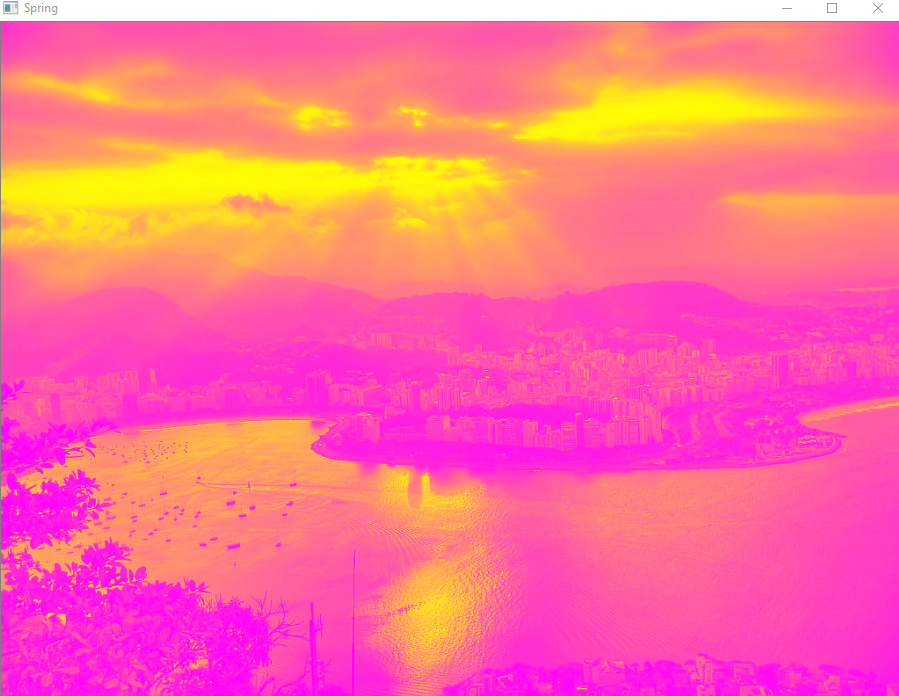
COLORMAP_SPRING
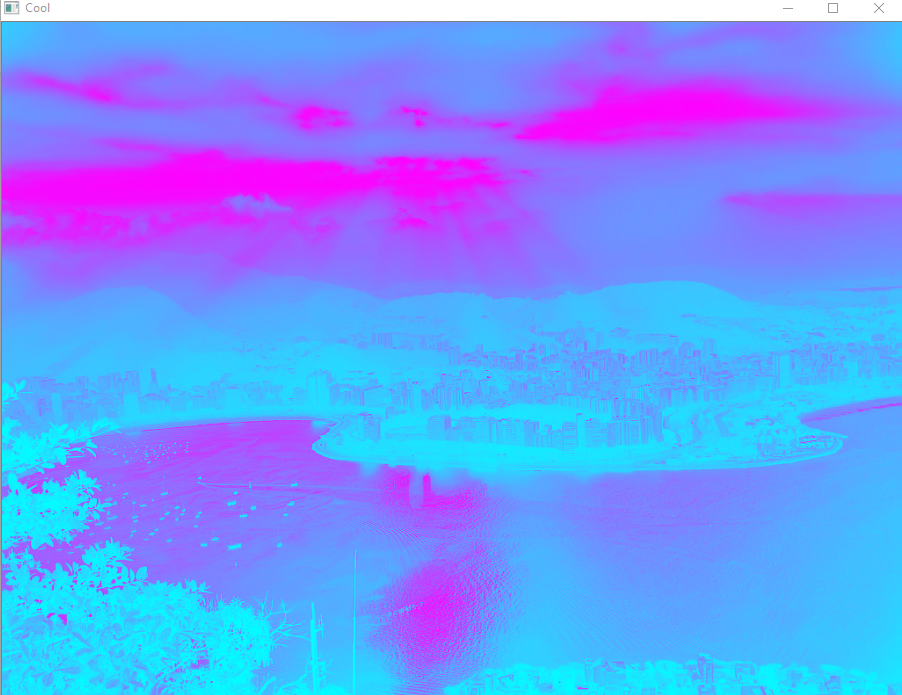
COLORMAP_COOL
COLORMAP_HSV
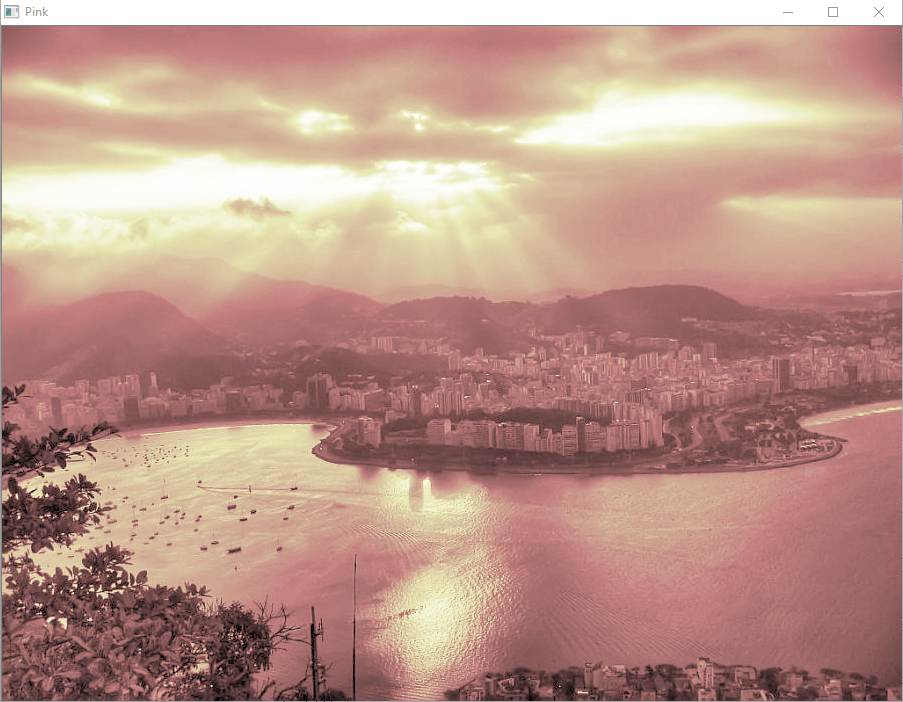
COLORMAP_PINK
COLORMAP_HOT
COLORMAP_PARULA
To apply color map first we need to convert an image to grayscale. So I will use
img = cv.imread("nature.jpg",cv.IMREAD_GRAYSCALE)If you are not aware of this function then please check my previous tutorial http://techievaibhav.in/2019/01/10/reading-an-image-using-opencv/
To apply color maps, OpenCV comes with a function called applyColorMap(). This function takes two parameters.
- Gray Scale image
- Color Map


Program
#import cv2 moduleimport cv2 as cvdef showImage(effect,image): cv.imshow(effect,image) cv.waitKey(0) cv.destroyAllWindows() img_gray = cv.imread("nature.jpg",cv.IMREAD_GRAYSCALE)img = cv.applyColorMap(img_gray,cv.COLORMAP_AUTUMN)showImage("autumn",img)img = cv.applyColorMap(img_gray,cv.COLORMAP_BONE)showImage("Bone",img)img = cv.applyColorMap(img_gray,cv.COLORMAP_JET)showImage("jet",img)img = cv.applyColorMap(img_gray,cv.COLORMAP_WINTER)showImage("Winter",img)img = cv.applyColorMap(img_gray,cv.COLORMAP_RAINBOW)showImage("Rainbow",img)img = cv.applyColorMap(img_gray,cv.COLORMAP_OCEAN)showImage("Ocean",img)img = cv.applyColorMap(img_gray,cv.COLORMAP_SUMMER)showImage("Summer",img)img = cv.applyColorMap(img_gray,cv.COLORMAP_SPRING)showImage("Spring",img)img = cv.applyColorMap(img_gray,cv.COLORMAP_COOL)showImage("Cool",img)img = cv.applyColorMap(img_gray,cv.COLORMAP_HSV)showImage("HSV",img)img = cv.applyColorMap(img_gray,cv.COLORMAP_PINK)showImage("Pink",img)img = cv.applyColorMap(img_gray,cv.COLORMAP_HOT)showImage("Hot",img)img = cv.applyColorMap(img_gray,cv.COLORMAP_PARULA)showImage("Parula",img)
Comments
Post a Comment