In this article, I will be discussing how you can create a dialog from service. As we all know that service in android does not have any UI and it is intended for long-running background tasks.
But sometimes it is required to show some information to the user when your app is running in the background.
Today I will show you how you can implement this type of functionality in your application.
Before starting the tutorial let me tell you about the special permission that we are going to use.
Permission
AndroidManifest.xml<uses-permission android:name="android.permission.SYSTEM_ALERT_WINDOW"/>This permission allows the app to use the system level window.
AndroidManifest.xml
<?xml version="1.0" encoding="utf-8"?><manifest xmlns:android="http://schemas.android.com/apk/res/android" package="com.app.dialogfromservice"> <uses-permission android:name="android.permission.SYSTEM_ALERT_WINDOW"/> <application android:allowBackup="true" android:icon="@mipmap/ic_launcher" android:label="@string/app_name" android:roundIcon="@mipmap/ic_launcher_round" android:supportsRtl="true" android:theme="@style/AppTheme"> <activity android:name=".MainActivity"> <intent-filter> <action android:name="android.intent.action.MAIN" /> <category android:name="android.intent.category.LAUNCHER" /> </intent-filter> </activity> <service android:name=".BackgroundDialogService" /> </application></manifest>activity_main.xml
<?xml version="1.0" encoding="utf-8"?><LinearLayout xmlns:android="http://schemas.android.com/apk/res/android" xmlns:tools="http://schemas.android.com/tools" android:layout_width="match_parent" android:layout_height="match_parent" tools:context=".MainActivity"> <Button android:id="@+id/start_service" android:background="#009688" android:textColor="#FFF" android:text="Start Service" android:textStyle="bold" android:layout_marginEnd="16dp" android:layout_marginStart="16dp" android:layout_gravity="center" android:layout_width="match_parent" android:layout_height="wrap_content"/></LinearLayout>MainActivity.java
package com.app.dialogfromservice;import androidx.appcompat.app.AppCompatActivity;import android.content.Intent;import android.os.Bundle;import android.view.View;import android.widget.Button;public class MainActivity extends AppCompatActivity implements View.OnClickListener { private Button start_service; @Override protected void onCreate(Bundle savedInstanceState) { super.onCreate(savedInstanceState); setContentView(R.layout.activity_main); start_service = findViewById(R.id.start_service); start_service.setOnClickListener(this); } @Override public void onClick(View v) { Intent intent = new Intent(getBaseContext(), BackgroundDialogService.class); startService(intent); }}BackgroundDialogService.java
package com.app.dialogfromservice;import android.app.AlertDialog;import android.app.Service;import android.content.DialogInterface;import android.content.Intent;import android.os.Build;import android.os.Handler;import android.os.IBinder;import android.util.Log;import android.view.WindowManager;import androidx.annotation.Nullable;public class BackgroundDialogService extends Service { @Nullable @Override public IBinder onBind(Intent intent) { return null; } @Override public void onCreate() { super.onCreate(); Log.d("Service Message", "Service Created"); } @Override public int onStartCommand(Intent intent, int flags, int startId) { Log.d("Service Message", "Service Started"); Handler handler = new Handler(); handler.postDelayed(new Runnable() { @Override public void run() {AlertDialog.Builder builder = new AlertDialog.Builder(getApplicationContext());builder.setTitle("Hello").setMessage("This dialog is created from service.").setCancelable(false).setPositiveButton("Ok", new DialogInterface.OnClickListener() {public void onClick(DialogInterface dialog, int id) { dialog.cancel(); } }); int layout_params; if (Build.VERSION.SDK_INT >= Build.VERSION_CODES.O) { layout_params = WindowManager.LayoutParams.TYPE_APPLICATION_OVERLAY; } else { layout_params = WindowManager.LayoutParams.TYPE_PHONE; } final AlertDialog alert = builder.create(); alert.getWindow().setType(layout_params); alert.show(); } }, 10000); return START_STICKY; } @Override public void onDestroy() { super.onDestroy(); Log.d("Service Message", "Service Destroyed"); }}In the above class, we have a method named onStartCommand where I have written a code for showing a dialog from service. So let’s understand this in detail.
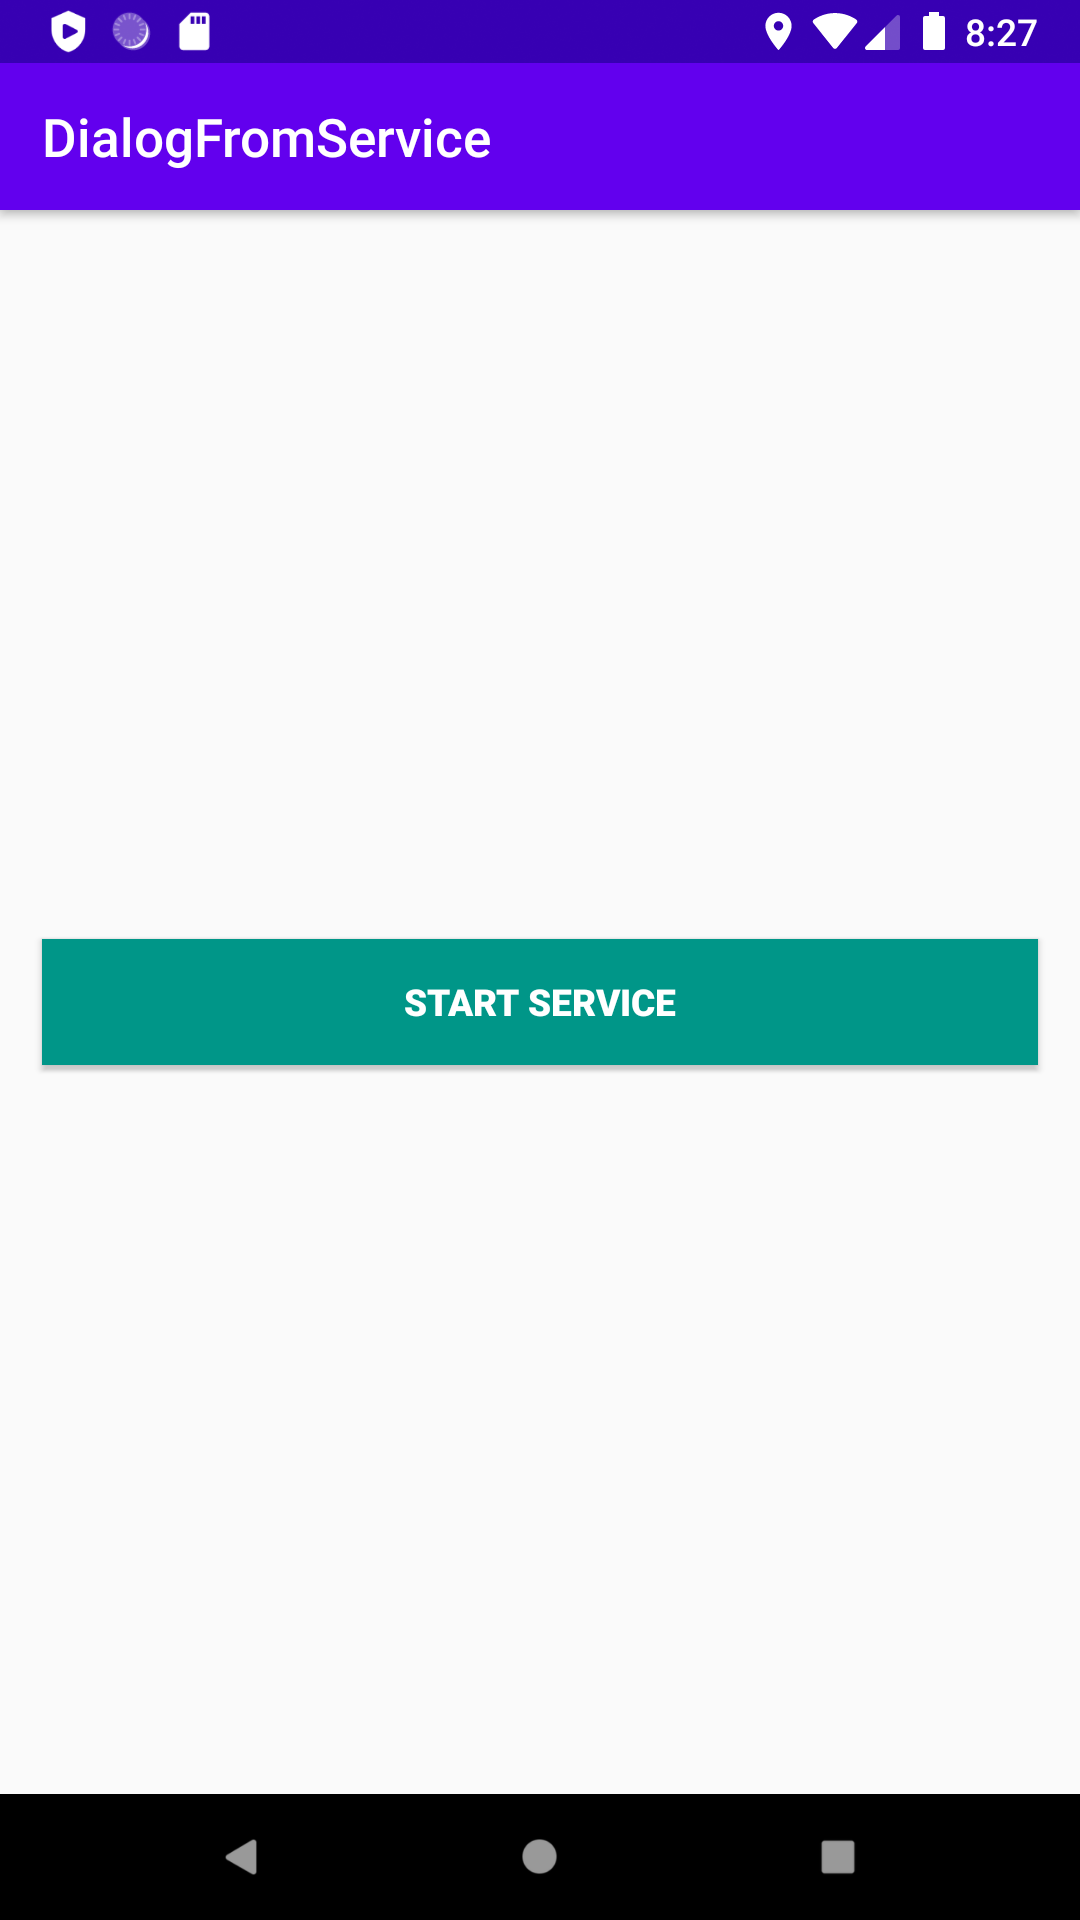
The user interface looks very simple. So when you click on this button START SERVICE . It will start the service.
I am using the Handler class method onPostDelayed to show a dialog after 10 seconds. There are a few things which are required to understand
int layout_params; if (Build.VERSION.SDK_INT >= Build.VERSION_CODES.O) { layout_params = WindowManager.LayoutParams.TYPE_APPLICATION_OVERLAY; } else { layout_params = WindowManager.LayoutParams.TYPE_PHONE; }The above code checks the android os version and based on that, I am setting the window type. To show a dialog from service you need to set the window type.
So it seems work is almost completed and when you run the application and press the START SERVICE button you will see your app will crash in Oreo devices but why !!! you have done everything correct but still the app is crashing.
If you will check the Logcat you will see an exception
Unable to add window android.view.ViewRootImpl-
permission denied for window type 2038
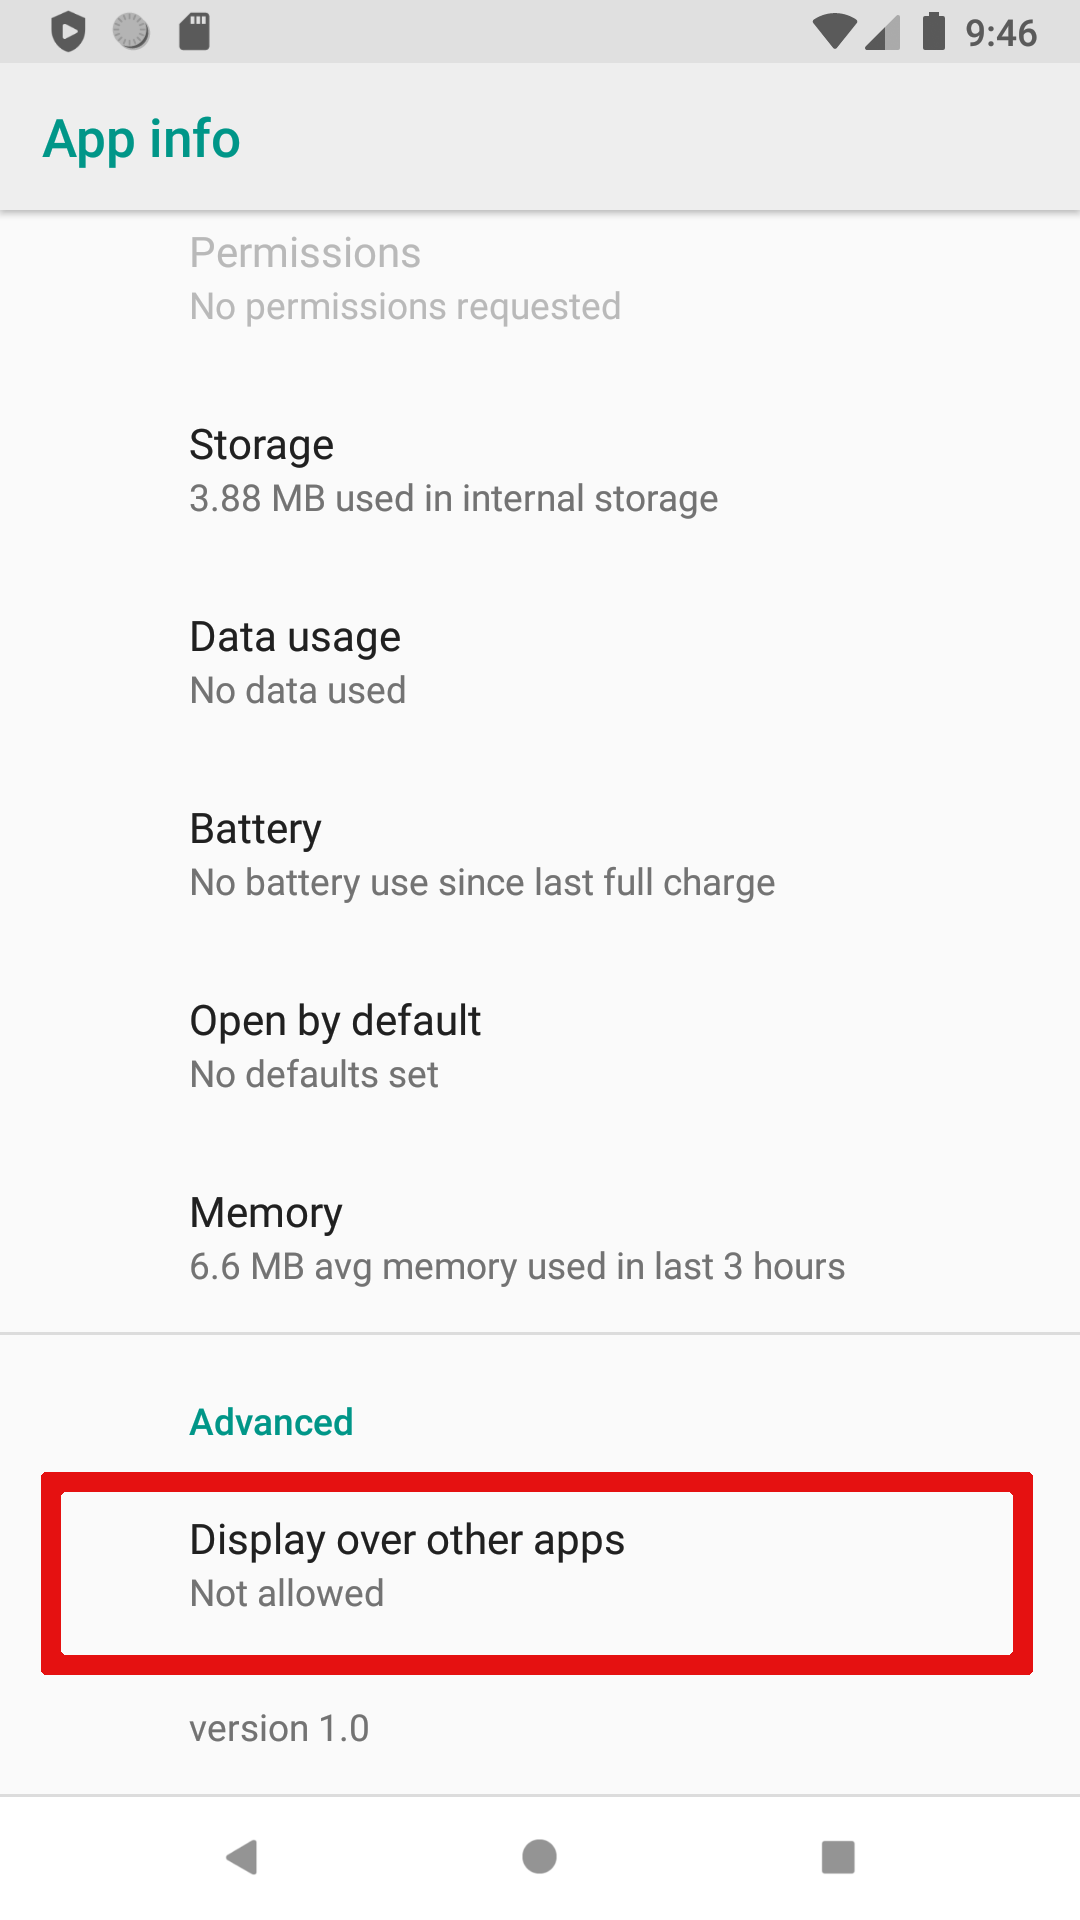
The reason for this exception because from android API Level 26 you have to enable Display over other apps permission.
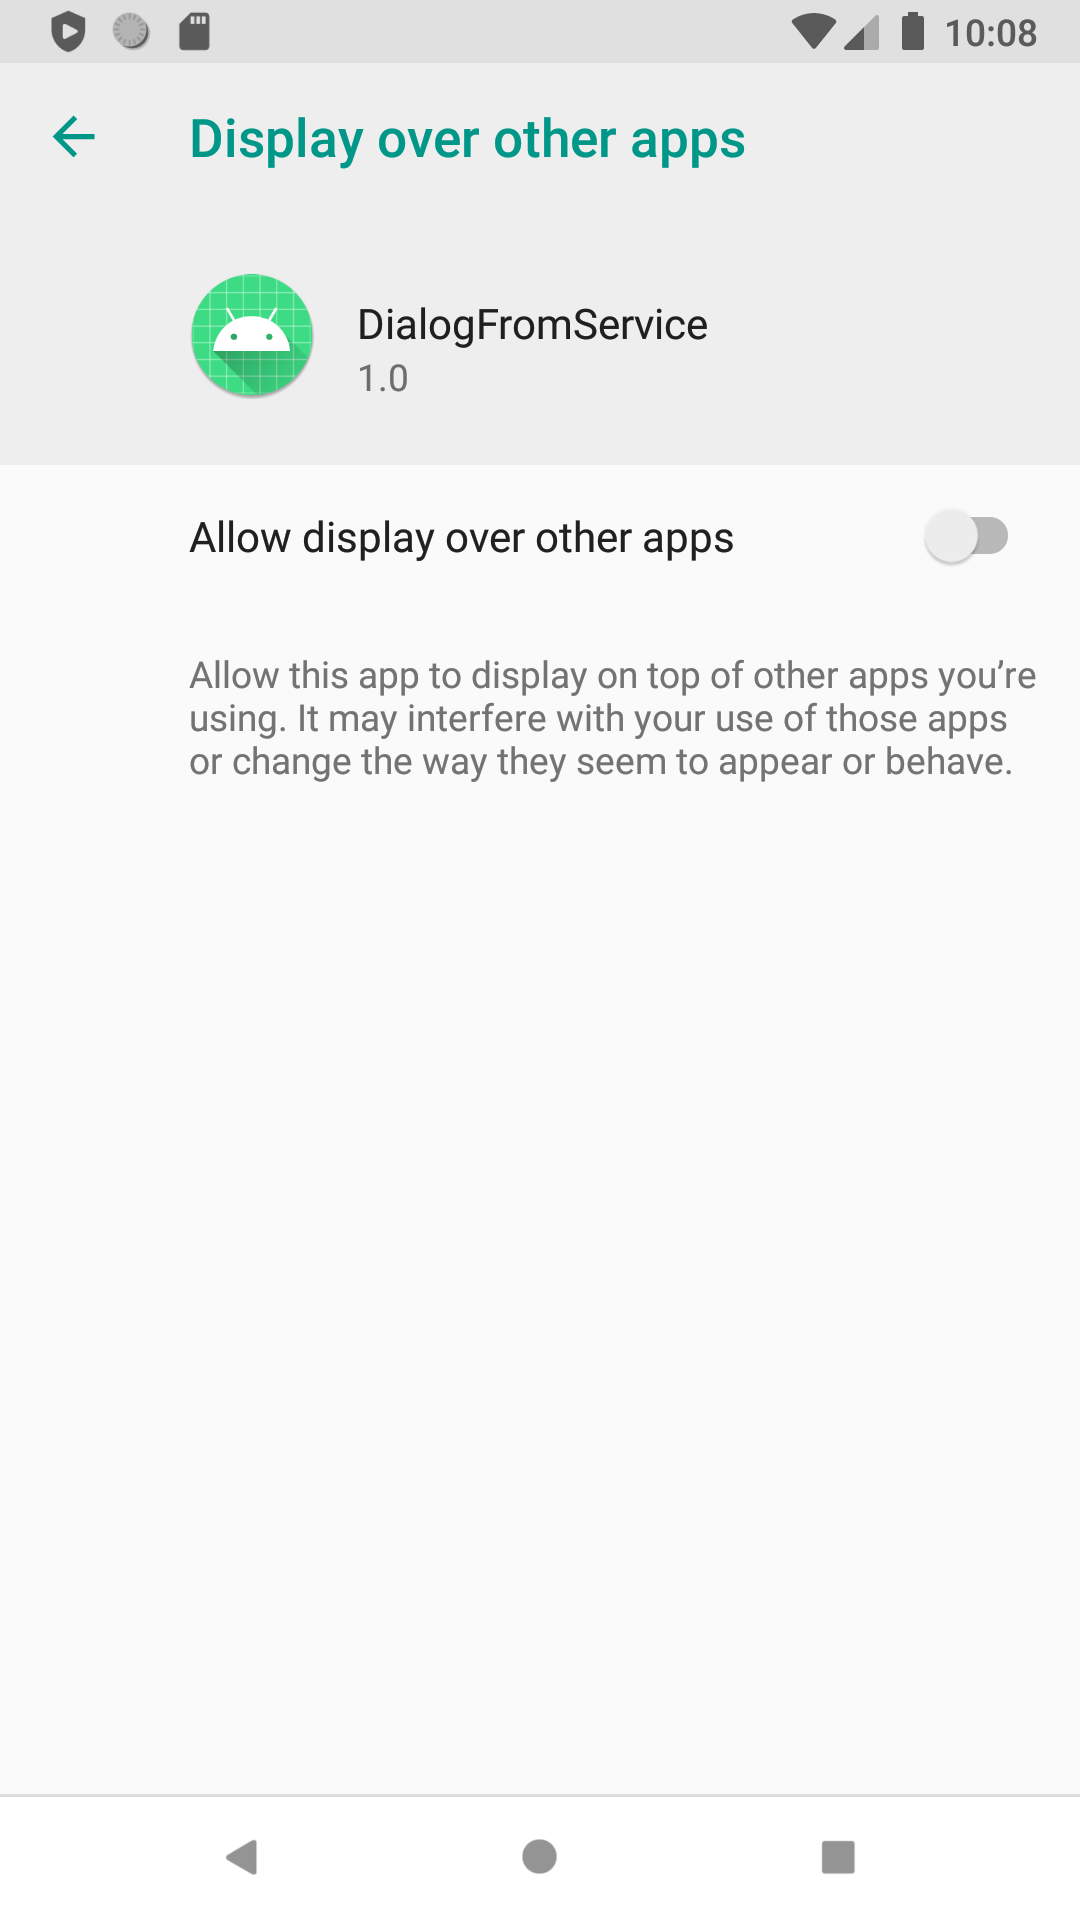
How to enable this permission
To do this you have two ways either you can check programmatically whether permission is given or either go directly to app info and enable the permission for Display over other apps. For this example I am going to manually enable the permission
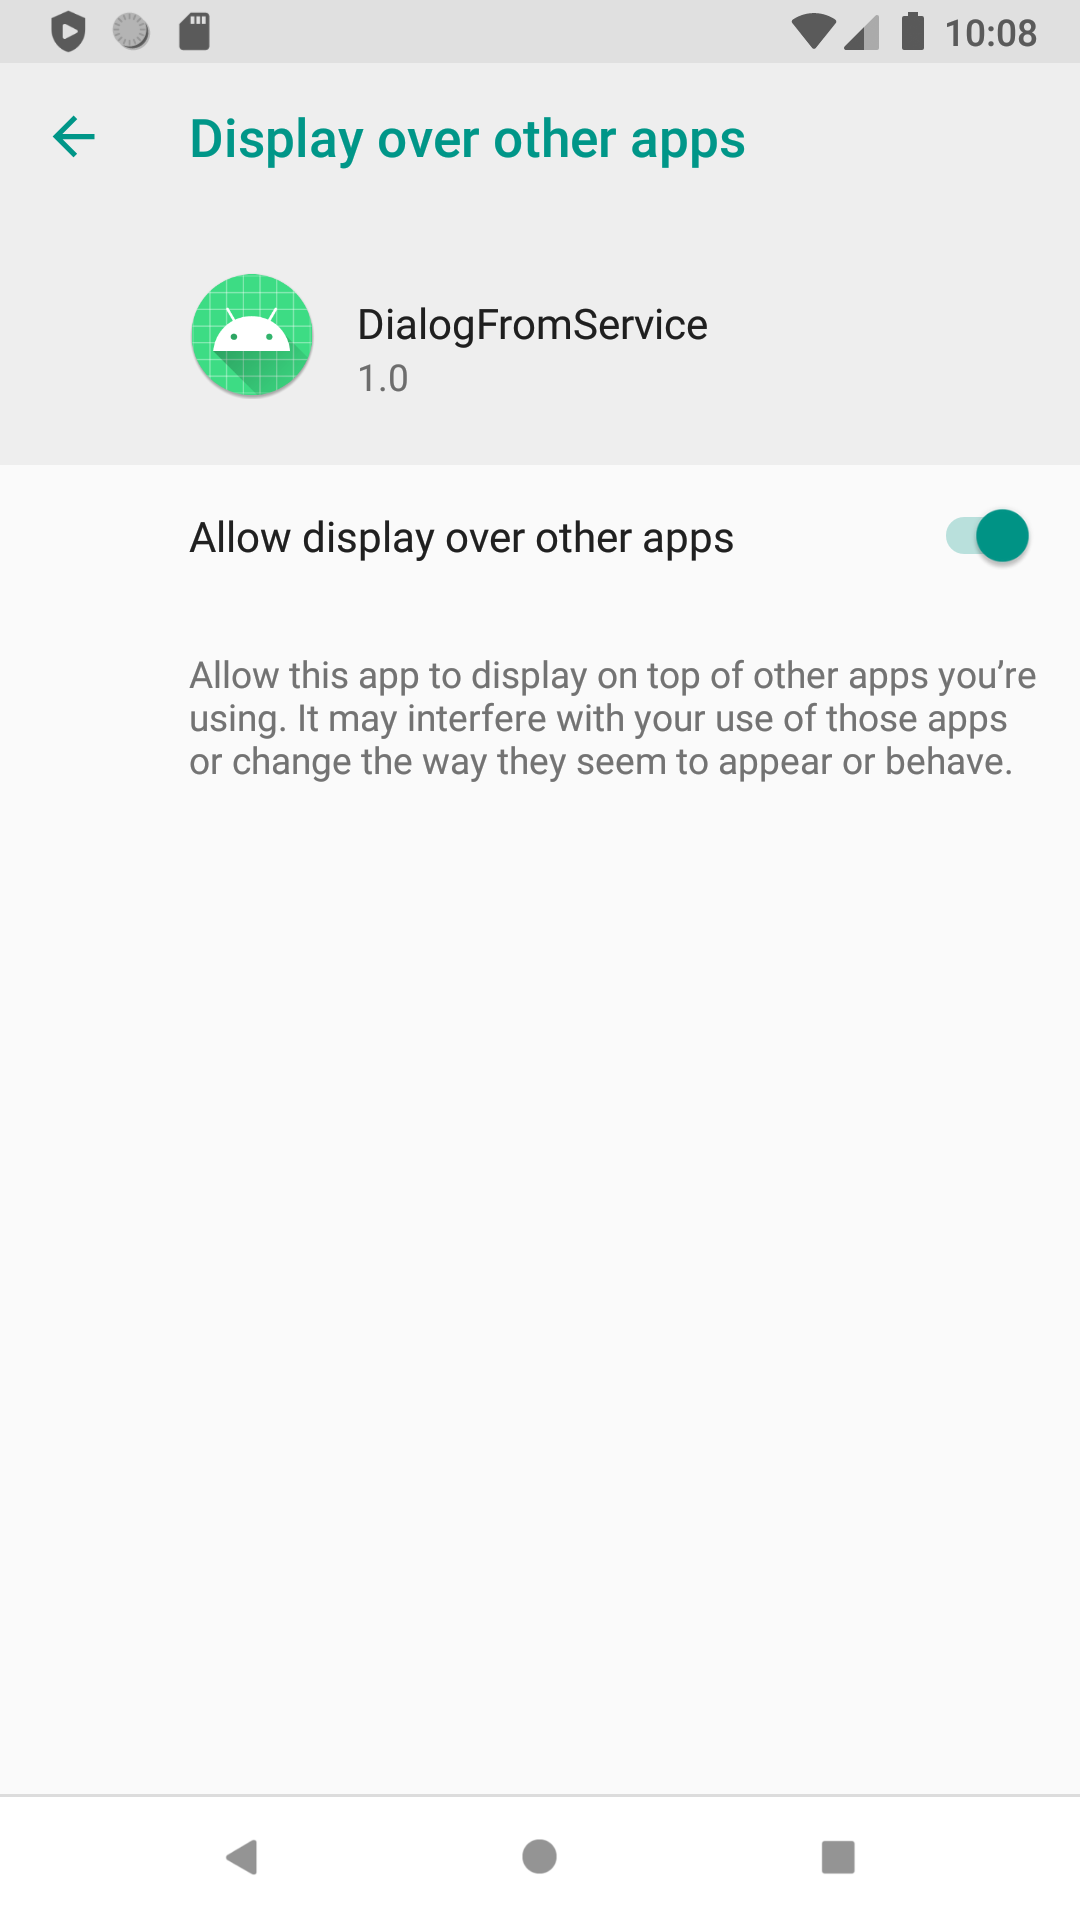
Now Go back to your app and tap on the START SERVICE button and move your app in background. You will see the dialog after 10 seconds
Source code
https://github.com/vaibhavsharma316/TechieVaibhavTutorials/tree/master/DialogFromService
Also don’t forget to subscribe to get the latest updates
Thanks for reading 🙂 🙂
Comments
Post a Comment